Cycle News Staff | May 5, 2020
Motorcycle How-To: Muffler Repacking
There are two good reasons to repack your muffler. First, reducing the sound output of your bike lessens the chances of other people, especially non-motorcycle riders, complaining about you riding. Second, and contrary to common belief, a properly packed muffler increases the power of your bike. In fact, it can add as much as two horsepower.
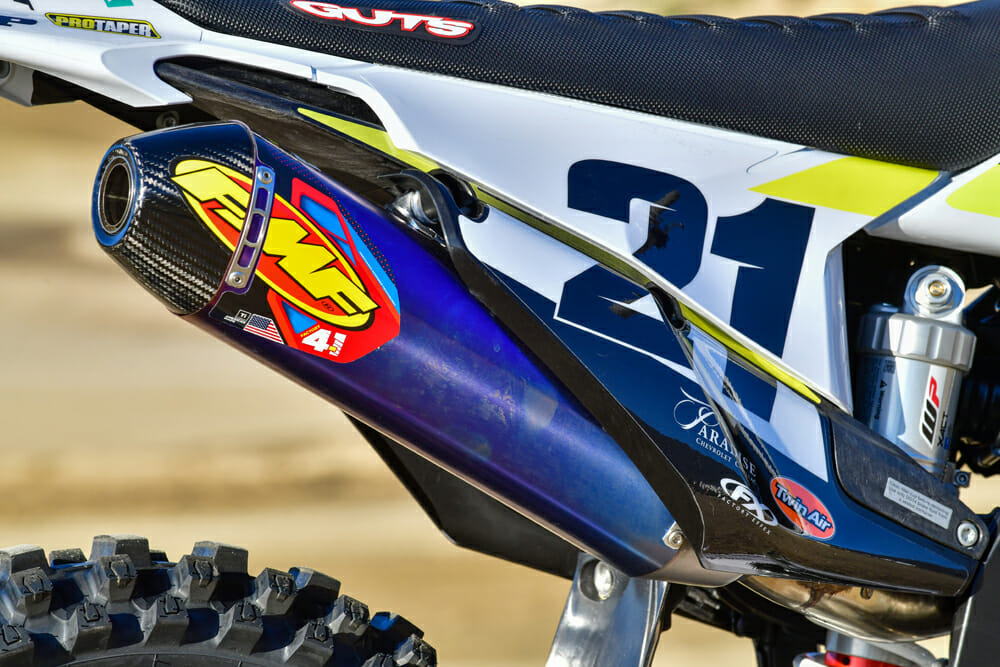 Contrary to belief, a properly prepped (i.e., quieter) muffler usually means more power than a loud muffler.
For both off-road and street motorcycles, the fiberglass packing materials in your muffler break down over time due to the extreme heat inside the muffler. Allowing water to get inside the muffler can accelerate the degradation process so it is recommended that you use a plug in the endcap when washing your bike. Most stock and aftermarket mufflers are designed to replace the packing material relatively easy and we will show you the common steps here. If you prefer, some of the aftermarket exhaust companies and local shops offer rebuild services.
How do you know it is time to check your muffler packing? Just like the internal parts in your motor, if you have put 20-plus hours on your bike, or if you think that water may have entered the muffler due to riding in rain or mud, it is time to check the packing. Some indications that you are due for fresh packing will be discoloration of the outside of the muffler, which is caused by more heat due to reduced packing material, and if your bike seems like it is getting louder, it is time to service it. There are several companies that sell repacking material for stock or aftermarket exhaust systems and most of the aftermarket exhaust companies have kits for their systems.
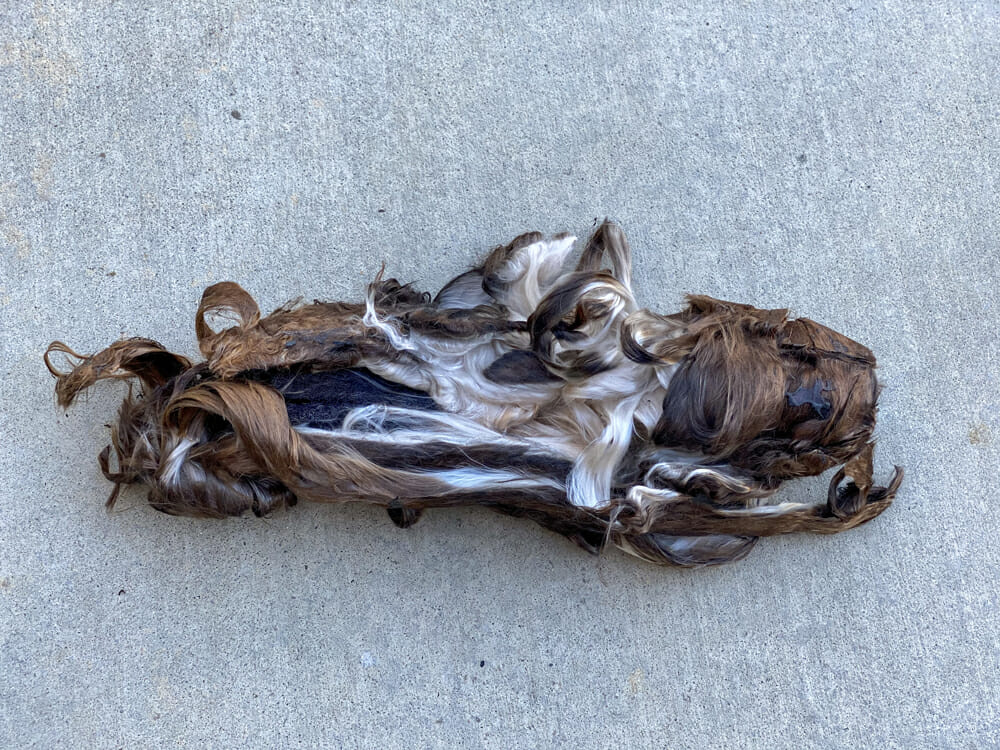 This is an example of some mildly used packing materials and even this shows signs of heat and moisture damage.
If you have a Yoshimura exhaust that needs servicing, the video below provides some useful information on some specific steps and tools needed. They also offer a rebuild service.
VIDEO | Muffler Repacking Yoshimura Exhaust
How To Rebuild a Motorcycle Muffler Steps
Step 1:
If your bike has a spark arrestor or sound-reducing insert, remove that. For some bikes, this may be part of the end cap and not come out separately.
 Repacking your muffler on a regular basis will reduce sound and increase the horsepower of your bike.
Step 2:
For most mufflers, you will remove the rear end cap but, on some systems, such as the FMF system we used for this example, you will instead remove the exhaust tube entering the front of the muffler. And some mufflers such as the stock KTM EXC dual sport mufflers come apart from both ends. Some mufflers use bolts or screws while some use rivets, which will require drilling out.
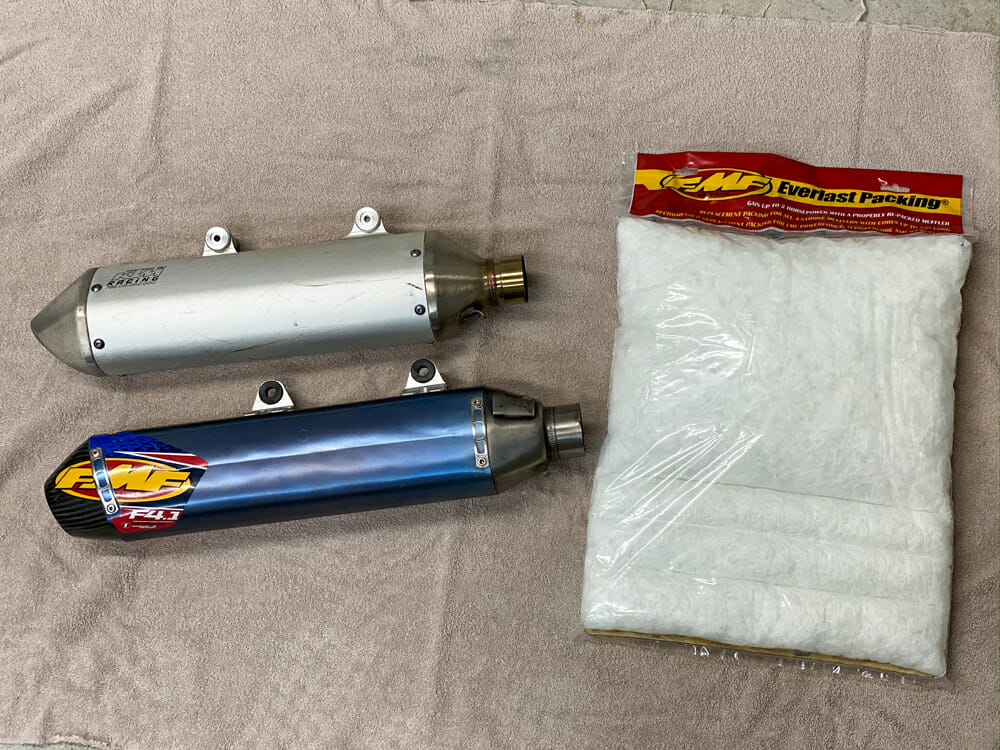
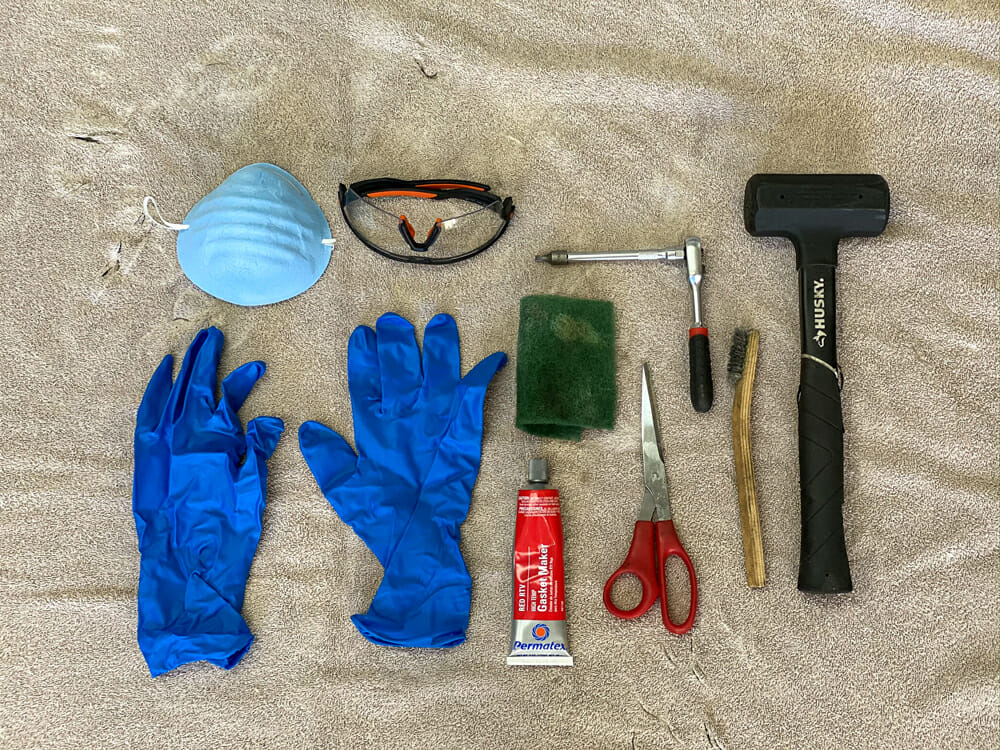 Rebuilding a stock or aftermarket muffler is not that difficult. These are the necessary tools you will need for most systems. The gloves, eye protection and mask are strongly recommended as fiberglass is very irritating to your skin, eyes and lungs.
Step 3:
Whether you are removing the rear end cap or the front, that joint will have hi-temp silicone to seal the system so you may need to use a razor blade to help break this free. You will use a rubber mallet to tap abound the cannister to slip the core out. It is important to take your time and work around the circumference to avoid damaging the cannister or end cap. Completely remove the core and any remaining packing material.
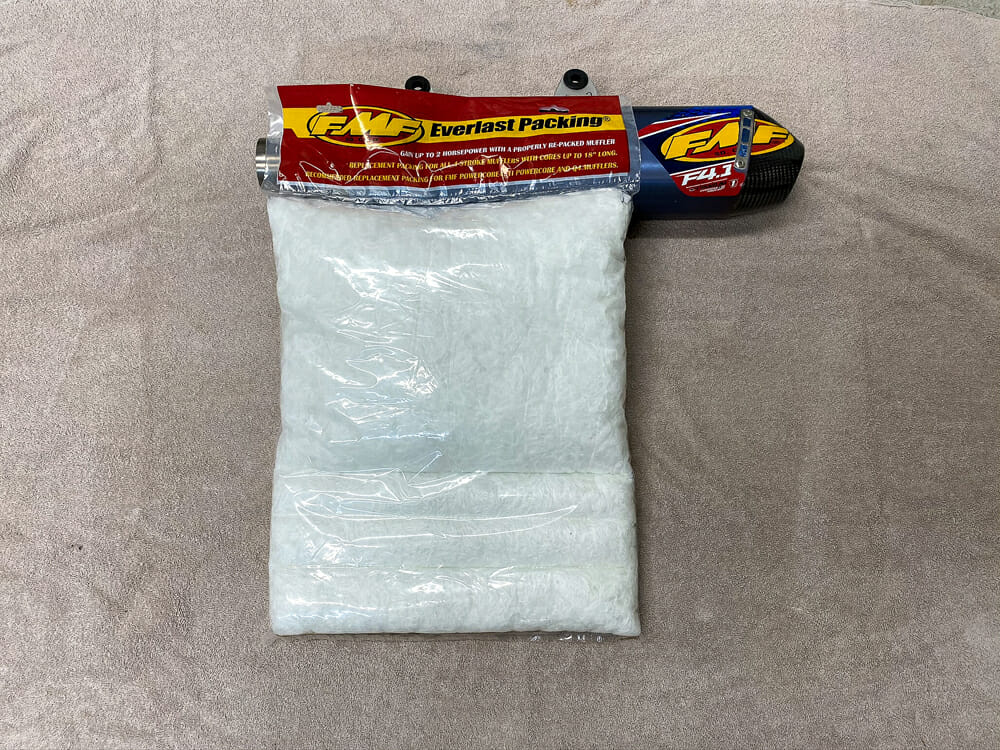 Several companies sell replacement packing kits and most of the aftermarket exhaust companies have specific packing, instructions and parts necessary for their systems.
Step 4:
Remove any remaining packing materials from the perforated core and inside the canister and discard it. If your system has steel wool under the packing material, leave that, as it helps to reduce sound and protect the packing material.
 The FMF Everlast repacking kit includes detailed instructions on the package.
Step 5:
Clean all the parts, using a wire brush or razor blade to remove the hi-temp silicone from the body and end or front cap. You can also clean up the muffler canister. A Scotch-Brite pad works well for titanium or stainless systems that don’t have a color treatment. This is also a good time to make sure that the core and parts are in good condition and not too loose in any of the joints where the core inserts into the front or end cap.
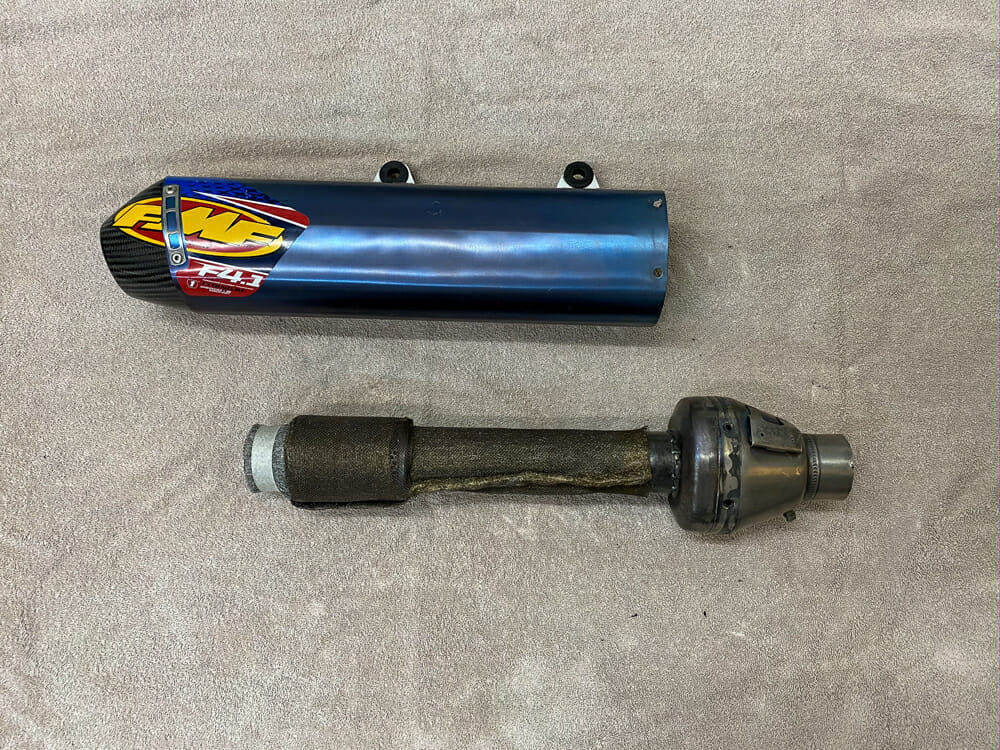 After removing the old packing materials and cleaning up the parts, you are ready to reassemble.
Step 6:
Reassembly is a little different for each stock or aftermarket system but generally the reverse order of the disassembly process. It is important to use the proper amount of packing materials and follow the instructions provided for each brand/model. The packing kits come in various styles, from loose materials that are weighed to determine the proper amount, to blankets and “pillow” style.
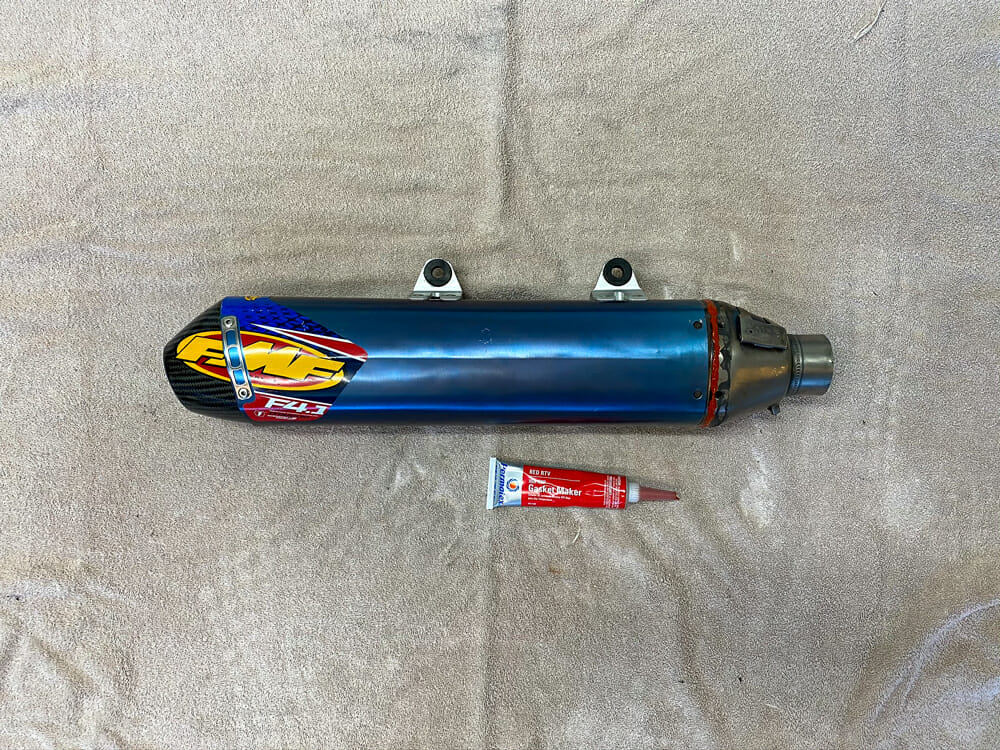 One of the most critical steps is applying high temp silicone at the junction between the bottom and/or end caps. Skipping this step will result in an exhaust leak, which hurts performance and can cause backfiring.
Step 7:
You will need to apply high-temp silicone at the front/end cap to avoid any exhaust leaks. This is an extremely important step.
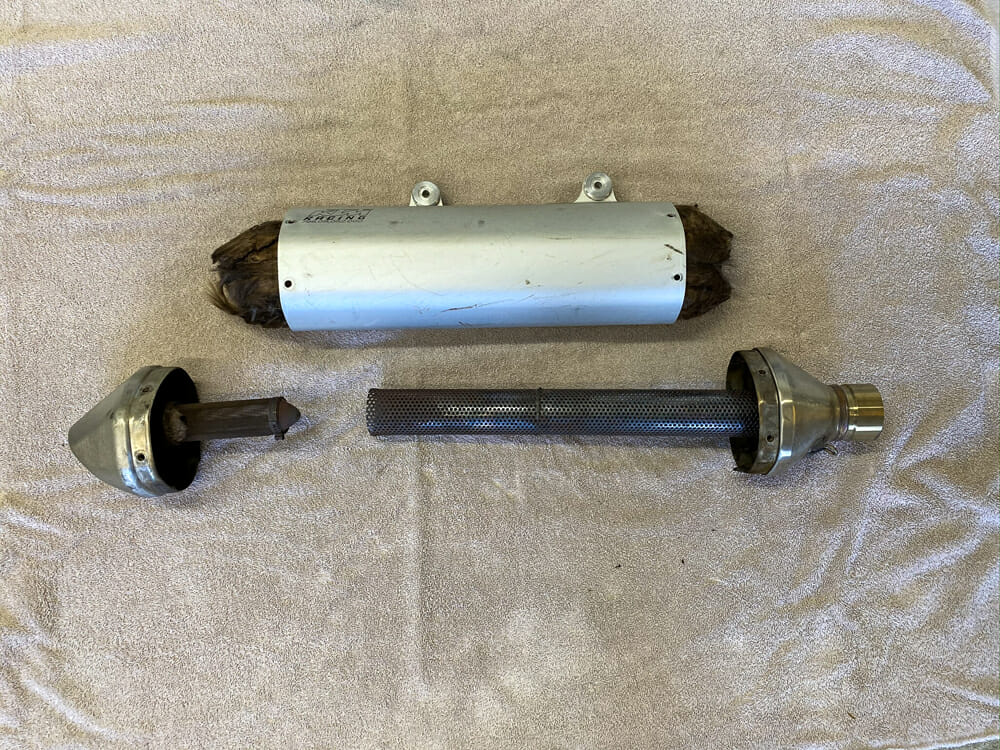 While most mufflers will come apart on one end, the KTM EXC mufflers come apart on both ends.
Step 8:
Reinstall the screws or rivets to secure the front/end cap. If your system uses rivets (such as Yoshimura systems), it is recommended that you use the special rivets they have available as they are different than the rivets that you will find at a typical hardware store.
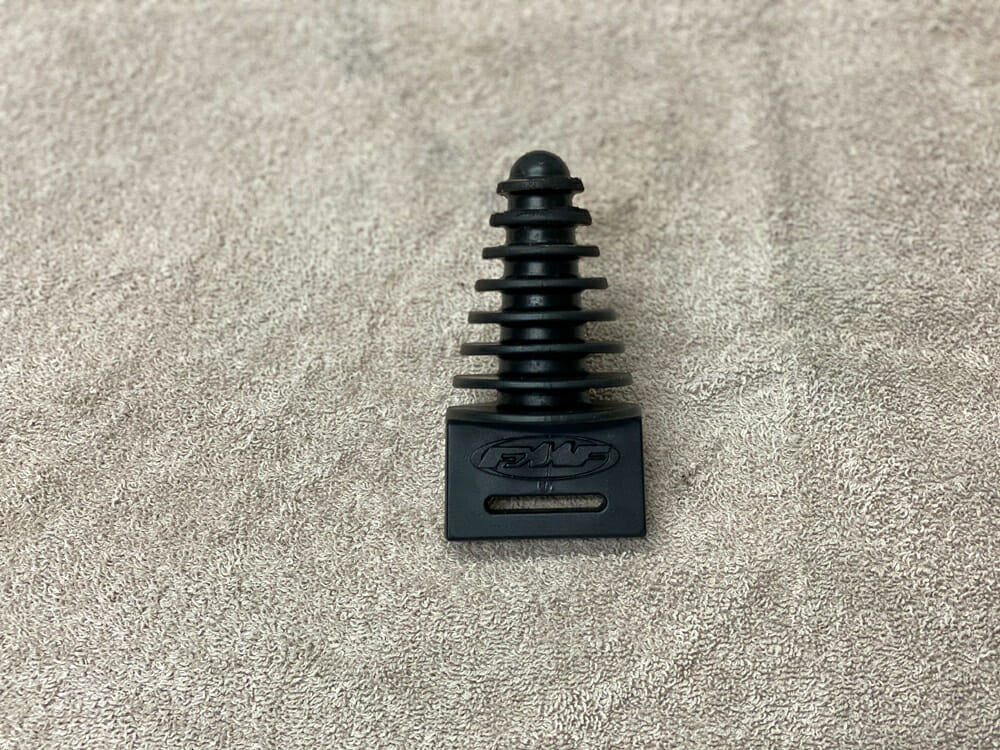 Water can damage muffler packing so it is critically important to use a plug when you wash your bike.
Step 9:
If your system includes a spark arrestor or sound reducing insert, re-install that.
You are now ready to reinstall your muffler and enjoy a quieter, better performing motorcycle.CN
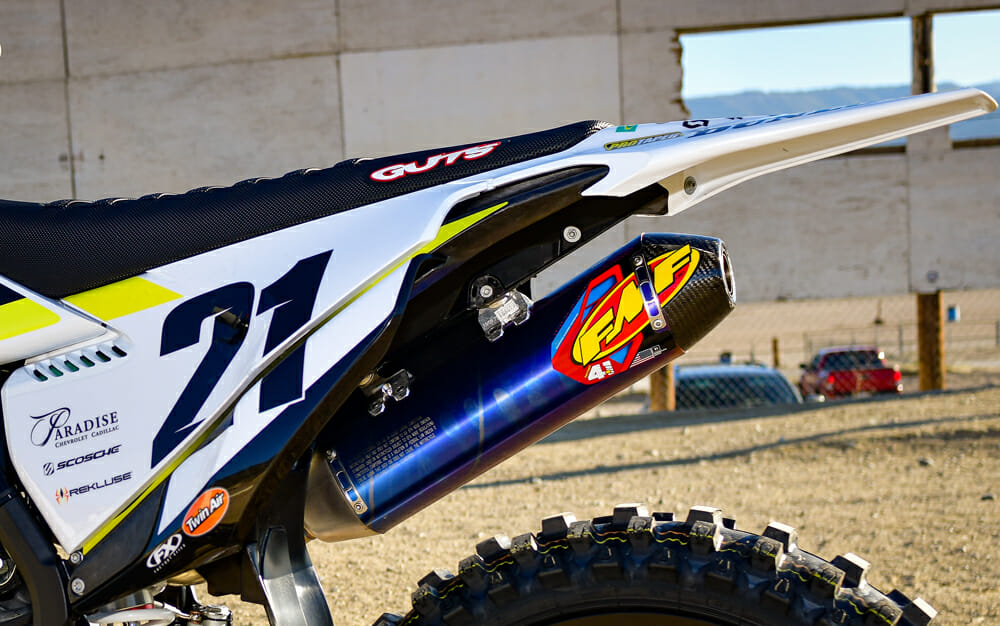 All done and as good as new.
